
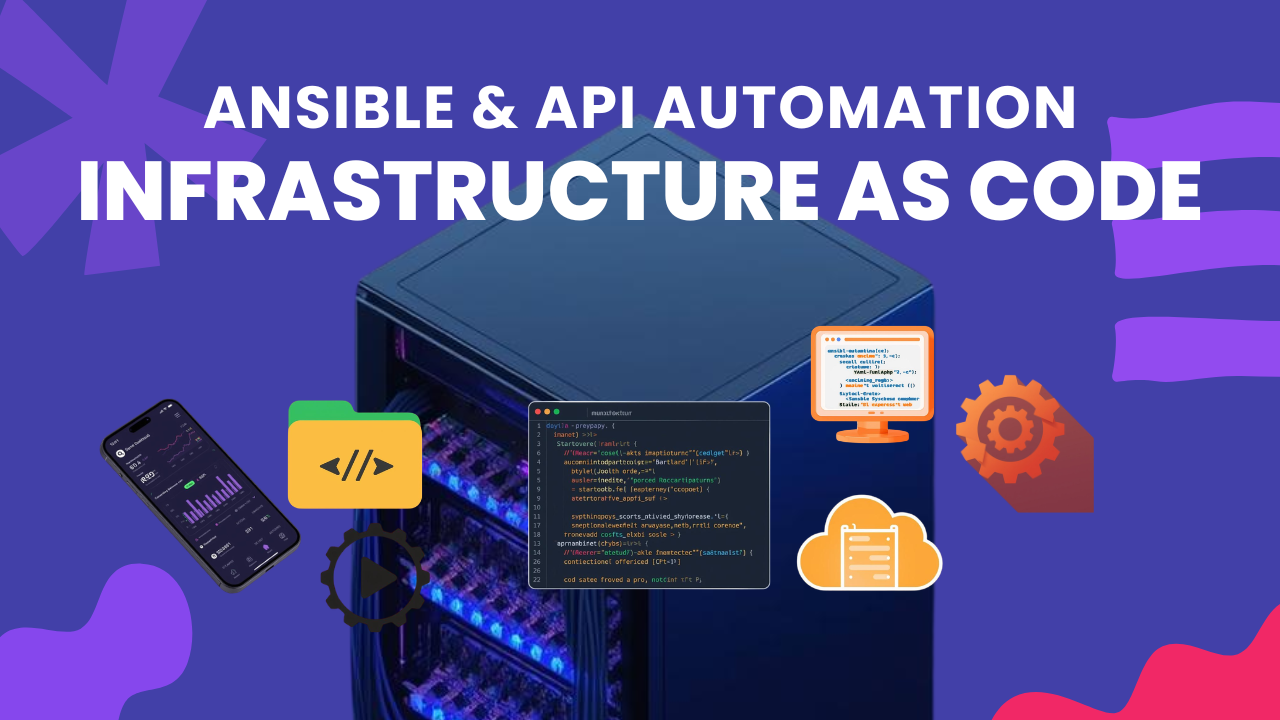
Summary: RakSmart’s Open API combined with Ansible enables complete infrastructure automation—from server provisioning to WordPress deployment. This guide shows you how to use RakSmart’s API to create servers programmatically, then configure them automatically with Ansible playbooks. Scale from one server to dozens with zero additional manual effort. Perfect for agencies, developers, and growing businesses.
Introduction: The Manual Server Management Trap
You have a growing portfolio of websites. Perhaps you run an agency with twenty client sites. Maybe you are a developer managing staging, testing, and production environments. Or you operate an e-commerce business with multiple regional storefronts. Whatever the scenario, if you are still provisioning and configuring servers manually, you are trapped.
Manual server management does not scale. Each new server requires logging into control panels, selecting operating systems, setting up LEMP stacks, configuring firewalls, installing WordPress, and securing SSH. Multiply that by ten servers, and you have hours of repetitive work. Multiply by fifty, and you need a full-time employee just for provisioning.
RakSmart provides the tools to escape this trap. Their open API allows programmatic server creation, IP management, and resource monitoring. Combined with Ansible—the industry-standard automation engine—you can achieve complete Infrastructure as Code (IaC) for your RakSmart environment. Write your configuration once in a playbook, then deploy it to one server or one hundred with a single command.
This blog is a practical guide to automating your RakSmart infrastructure. We will cover RakSmart API basics, Ansible installation and configuration, playbook creation, and real-world automation patterns for WordPress deployment, server monitoring, and CI/CD integration.
Part 1: Understanding RakSmart’s API Capabilities
RakSmart provides a RESTful API that allows programmatic control of your hosting resources. The API supports the following operations:
| Operation | Endpoint Function | Business Value |
|---|---|---|
| Instance creation | Create new VPS or dedicated servers | Provision on demand |
| Instance management | Start, stop, reboot, reinstall OS | Automate maintenance |
| IP resource management | Assign, unbind, query IP addresses | Multi-site deployments |
| Server status query | Check CPU, network, bandwidth usage | Monitoring and alerting |
| Server listing | List all nodes and their states | Inventory management |
API Authentication
RakSmart API uses bearer token authentication. You can generate your API token from your account dashboard. The token should be treated as a sensitive credential and stored securely—never commit it to version control.
Example API Request
To create a new server via the API:
bash
curl -X POST https://api.raksmart.com/v1/servers \
-H "Authorization: Bearer YOUR_API_TOKEN" \
-H "Content-Type: application/json" \
-d '{
  "plan": "vps-sv-2core-4gb",
  "region": "us-sv",
  "hostname": "automated-server-01",
  "os": "ubuntu-22-04"
}'
The API returns a server ID, IP address, and credentials. You can use this information in subsequent automation steps.
Rate Limits and Quotas
RakSmart API implements rate limiting to ensure platform stability. For most users, the default quotas (approximately 100 requests per minute) are sufficient for automation workflows. For bulk operations, consult RakSmart’s API documentation or contact support.
Part 2: Introduction to Ansible for Configuration Management
Ansible is an open-source automation tool that configures servers over SSH without requiring agents on target machines. Its declarative playbooks describe the desired state of your systems, and Ansible ensures that state is achieved.
Why Ansible Over Alternatives?
| Tool | Approach | Learning Curve | Agent Required |
|---|---|---|---|
| Ansible | Declarative YAML | Gentle | No (SSH only) |
| Puppet | Declarative DSL | Steep | Yes |
| Chef | Imperative Ruby | Steep | Yes |
| SaltStack | Hybrid | Moderate | Optional |
For most users, Ansible’s simplicity and agentless architecture make it the best choice for automating RakSmart servers.
Core Ansible Concepts
- Control node: The machine where Ansible runs (could be your local computer or a build server)
- Managed nodes: The servers Ansible configures (your RakSmart VPS instances)
- Inventory: A file listing your managed nodes and their groupings
- Playbook: A YAML file containing the tasks to execute
- Module: Reusable code that performs specific functions (e.g.,
apt,copy,service)
Installing Ansible
On your control node (Linux/macOS/WSL):
bash
# Ubuntu/Debian
sudo apt update
sudo apt install ansible -y

# macOS
brew install ansible

# Verify installation
ansible --version
Part 3: Integrating RakSmart API with Ansible
The true power of automation emerges when you combine RakSmart’s provisioning API with Ansible’s configuration capabilities. This integration allows you to create servers and configure them in a single workflow.
Workflow Overview
- Call RakSmart API to create a new server
- Wait for server provisioning to complete (typically 3-10 minutes)
- Retrieve the server’s IP address
- Add the IP to Ansible’s inventory
- Execute Ansible playbook to configure the server
- Verify deployment success
Custom Ansible Module for RakSmart API
While RakSmart does not currently provide an official Ansible collection, you can create a simple wrapper script or use Ansible’s uri module to interact with the API.
Example playbook that creates a server and waits for it to be ready:
yaml
- name: Provision new server via RakSmart API
  hosts: localhost
  tasks:
    - name: Create server via API
      uri:
        url: https://api.raksmart.com/v1/servers
        method: POST
        headers:
          Authorization: "Bearer {{ api_token }}"
        body_format: json
        body:
          plan: "vps-sv-2core-4gb"
          region: "us-sv"
          hostname: "automated-{{ ansible_date_time.epoch }}"
          os: "ubuntu-22-04"
      register: server_creation

    - name: Extract server IP
      set_fact:
        new_server_ip: "{{ server_creation.json.ip_address }}"

    - name: Add to inventory
      add_host:
        name: "{{ new_server_ip }}"
        groups: newly_provisioned
Part 4: Automating WordPress Deployment with Ansible
WordPress is the most common web application. Automating its deployment on RakSmart servers saves time and ensures consistency across multiple installations.
Base WordPress Playbook
Create a file named deploy-wordpress.yml:
yaml
- name: Deploy WordPress on RakSmart server
  hosts: webservers
  become: yes
  vars:
    domain_name: "example.com"
    db_name: "wp_database"
    db_user: "wp_user"
    db_password: "secure_password_here"

  tasks:
    - name: Update apt cache
      apt:
        update_cache: yes
        cache_valid_time: 3600

    - name: Install LEMP stack
      apt:
        name:
          - nginx
          - php-fpm
          - php-mysql
          - php-curl
          - php-gd
          - php-mbstring
          - php-xml
          - php-zip
          - mysql-server
          - unzip
          - wget
        state: present

    - name: Start and enable services
      service:
        name: "{{ item }}"
        state: started
        enabled: yes
      loop:
        - nginx
        - mysql
        - php{{ php_version }}-fpm

    - name: Download WordPress
      shell: |
        wget https://cn.wordpress.org/latest-zh_CN.zip -O /tmp/wp.zip
        unzip /tmp/wp.zip -d /var/www/html/
        chown -R www-data:www-data /var/www/html/wordpress

    - name: Create WordPress database
      mysql_db:
        name: "{{ db_name }}"
        state: present

    - name: Create WordPress database user
      mysql_user:
        name: "{{ db_user }}"
        password: "{{ db_password }}"
        priv: "{{ db_name }}.*:ALL"
        state: present

    - name: Configure WordPress wp-config.php
      template:
        src: wp-config.php.j2
        dest: /var/www/html/wordpress/wp-config.php
        owner: www-data
        group: www-data
        mode: 0644

    - name: Configure Nginx virtual host
      template:
        src: nginx-vhost.conf.j2
        dest: /etc/nginx/sites-available/{{ domain_name }}
        owner: root
        group: root
        mode: 0644

    - name: Enable site
      file:
        src: /etc/nginx/sites-available/{{ domain_name }}
        dest: /etc/nginx/sites-enabled/{{ domain_name }}
        state: link

    - name: Reload Nginx
      service:
        name: nginx
        state: reloaded
Execute the Playbook
bash
ansible-playbook -i inventory.ini deploy-wordpress.yml
This single command configures a complete WordPress environment on every server listed in your inventory.
Part 5: Auto-Scaling with RakSmart API and Ansible
One of the most powerful automation patterns is automatic scaling—provisioning new servers in response to increased load.
The Scaling Workflow
- Monitor server load metrics (via RakSmart API or external monitoring)
- When load exceeds threshold, trigger scaling event
- Call RakSmart API to provision additional server
- Use Ansible to configure the new server identically to existing ones
- Add the new server to load balancer rotation
Conceptual Implementation
bash
# Step 1: Check current load (simplified example)
LOAD=$(curl -s "https://api.raksmart.com/v1/servers/server-01/status" \
  -H "Authorization: Bearer $TOKEN" | jq '.cpu_usage')

# Step 2: If load > 80%, provision new server
if [ "$LOAD" -gt 80 ]; then
  # Create new server via API
  NEW_SERVER=$(curl -X POST https://api.raksmart.com/v1/servers \
    -H "Authorization: Bearer $TOKEN" \
    -d '{"plan":"vps-sv-2core-4gb","region":"us-sv","hostname":"scaled-node-01"}')

  # Extract IP
  NEW_IP=$(echo $NEW_SERVER | jq -r '.ip_address')

  # Run Ansible configuration
  ansible-playbook -i "$NEW_IP," deploy-wordpress.yml
fi
For production use, implement this workflow using a scheduled job (cron) or integrate with monitoring tools like Prometheus.
Part 6: Automating Backups with Rsync and Cron
Backups are essential but often neglected. Automation makes backup reliable and effortless.
Using RakSmart’s scheduled task capabilities, you can configure automatic backups to a remote server or object storage.
Backup Script Example
Create /usr/local/bin/wp_backup.sh:
bash
#!/bin/bash
LOCAL_DIR="/var/www/html/wordpress"
REMOTE_USER="backup_user"
REMOTE_IP="backup-server-ip"
REMOTE_DIR="/backups/wordpress"
DB_NAME="wp_database"
DB_USER="wp_user"
DB_PASS="password"
DATE=$(date +%Y%m%d)

# Dump database
mysqldump -u$DB_USER -p$DB_PASS $DB_NAME > /tmp/${DB_NAME}_${DATE}.sql

# Create archive
tar -czf /tmp/backup_${DATE}.tar.gz $LOCAL_DIR /tmp/${DB_NAME}_${DATE}.sql

# Send to remote server
rsync -avz /tmp/backup_${DATE}.tar.gz ${REMOTE_USER}@${REMOTE_IP}:${REMOTE_DIR}/

# Clean up local
rm -f /tmp/${DB_NAME}_${DATE}.sql /tmp/backup_${DATE}.tar.gz
Schedule with Cron
bash
# Add to crontab - runs daily at 2 AM
0 2 * * * /usr/local/bin/wp_backup.sh
This Rsync-based approach is incremental—only changes are transferred, saving bandwidth and time compared to full backups each run.
Part 7: CI/CD Integration for Continuous Deployment
For development teams, integrating RakSmart automation with CI/CD pipelines enables push-to-deploy workflows.
GitHub Actions Example
yaml
name: Deploy to RakSmart
on:
  push:
    branches: [main]

jobs:
  deploy:
    runs-on: ubuntu-latest
    steps:
      - uses: actions/checkout@v3

      - name: Install Ansible
        run: sudo apt update && sudo apt install ansible -y

      - name: Create inventory
        run: |
          echo "[production]" > inventory.ini
          echo "${{ secrets.RAKSMART_SERVER_IP }}" >> inventory.ini

      - name: Run deployment playbook
        run: ansible-playbook -i inventory.ini deploy.yml
        env:
          ANSIBLE_HOST_KEY_CHECKING: "False"
With this workflow, every git push to your main branch automatically deploys your latest code to your RakSmart production server.
Part 8: Real-World Automation Patterns
Based on community experience, here are proven automation patterns for RakSmart environments.
Pattern 1: Multi-Region WordPress Deployment
Use RakSmart’s API to create servers in multiple regions (Silicon Valley, Hong Kong, Frankfurt) and deploy identical WordPress configurations to all of them. This creates a global presence with minimal effort.
Pattern 2: Staging Environment on Demand
Create a staging server automatically whenever a developer pushes to a feature branch. Run tests, then destroy the server. This pattern ensures staging environments exactly match production without maintaining idle servers.
Pattern 3: Scheduled Security Updates
Use Ansible to run security updates across your entire server fleet on a schedule. The playbook checks for pending security patches, applies them, and restarts services as needed—all while you sleep.
Pattern 4: Monitoring and Alerting Automation
Configure Prometheus and Grafana on a dedicated RakSmart monitoring server. Use Ansible to deploy monitoring agents to all your application servers, creating a complete observability stack automatically.
Part 9: Security Best Practices for Automation
Automation introduces new security considerations. Follow these practices to protect your infrastructure.
Secret Management
Never store API tokens or passwords in playbooks. Use Ansible Vault to encrypt sensitive data:
bash
ansible-vault create secrets.yml
ansible-playbook --ask-vault-pass deploy.yml
Access Control
Use dedicated service accounts for automation rather than personal credentials. These accounts should have minimal necessary permissions.
Audit Logging
All API calls and Ansible runs should be logged. These logs help with troubleshooting and security investigations.
Immutable Infrastructure
Consider treating servers as disposable. Rather than updating servers in place, provision new servers with each deployment and decommission old ones. This pattern reduces configuration drift and simplifies rollbacks.
Part 10: Troubleshooting Common Automation Issues
Despite careful configuration, automation workflows sometimes fail. Here are common issues and solutions.
Issue: API rate limiting
- Solution: Implement exponential backoff in your scripts. Add delays between API calls when provisioning multiple servers.
Issue: SSH connection timeout
- Solution: New servers may take several minutes to become SSH-ready after API provisioning. Add a wait loop with retries before Ansible execution.
Issue: Inconsistent playbook results
- Solution: Make playbooks idempotent (safe to run multiple times). Use Ansible’s
stateparameters rather than raw shell commands when possible.
Conclusion: From Manual to Automated
The transition from manual server management to automated Infrastructure as Code transforms your relationship with hosting. Tasks that took hours become seconds. Consistency across servers becomes guaranteed. Scaling from one server to one hundred becomes a configuration change rather than a logistical nightmare.
RakSmart’s open API and Ansible compatibility provide the foundation for this transformation. The patterns in this guide—server provisioning, WordPress deployment, backup automation, CI/CD integration—are starting points. Once you grasp the fundamentals, you can adapt them to any workflow.
Automation is not an option for serious server management. It is a requirement. With RakSmart and Ansible, you have the tools to meet that requirement. Start with one playbook. Automate one recurring task. Then expand. The time you save will be the most valuable result.
Frequently Asked Questions (FAQs)
Q1: Do I need programming experience to use RakSmart’s API with Ansible?
A: Basic familiarity with command-line interfaces and YAML syntax is helpful. The API calls are standard HTTP requests, and Ansible playbooks use declarative YAML. If you have ever edited a configuration file, you can learn Ansible within a few hours.
Q2: Is the RakSmart API free to use?
A: Yes, RakSmart provides API access at no additional charge. You pay only for the underlying server resources you provision through the API. Rate limits apply but are generous for typical automation workloads.
Q3: Can I use Terraform instead of Ansible with RakSmart?
A: While RakSmart does not currently offer an official Terraform provider, the open API can be used with Terraform’s generic HTTP provider or custom providers. Ansible is generally better suited for configuration management, while Terraform excels at infrastructure provisioning. Many teams use both.
Q4: How do I handle secrets like API tokens in my automation?
A: Use environment variables, Ansible Vault, or external secret managers (Hashicorp Vault, AWS Secrets Manager) to store sensitive information. Never commit secrets to version control.
Q5: What happens if an automated deployment fails?
A: Implement rollback procedures in your playbooks. At minimum, ensure previous versions are preserved and can be restored. For critical systems, maintain a “blue-green” deployment pattern where new servers are verified before traffic is switched over.